|
Figure out what you want to model. Find reference pictures, concept art, anything that can help you to visualise in your head every possible details you might want to model. Once you acheive this, everything else is just technical stuff. Me, I'm going to model a Samurai warrior.
 Fear not, my friend. First, we'll create a cylinder to ease our lonelyness (and possibly to model something). Press ctrl+right click in the "Top" viewport, this menu should then pop-up:
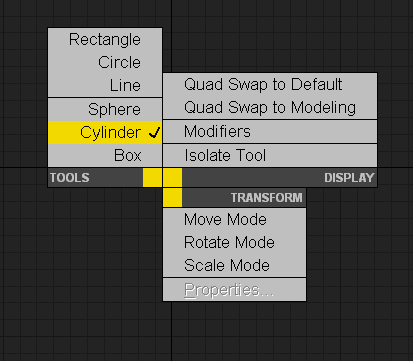 Select "cylinder" and create one. Then look at the upper-right corner of your screen, you should see something like this (minus my colored circles):
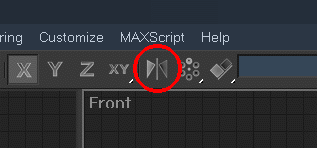
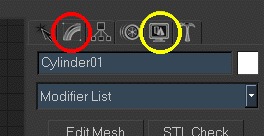 Click on Modify (in red) to edit the cylinder's parameters. By the way, the other icon (in yellow) is Display.
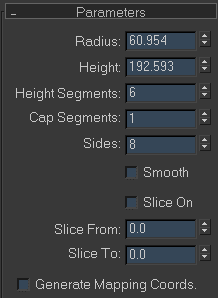 Now this is when we actually start to think. I know that we'll rarely see my character from above, and I know that my polycount limit is 2000.. so I'm going to only use 8 sides to save polygons. Personnaly, I like to start with less polygons and add more after, but not everyone agree with me on that. Anyway, always use a number divisible by 4 for the sides, so that you can more easily mirror your object later on. Finaly, uncheck "Smooth".
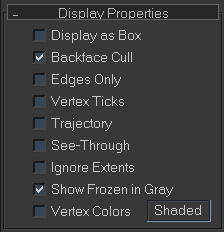
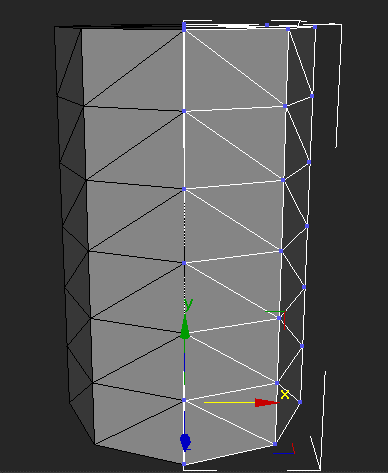
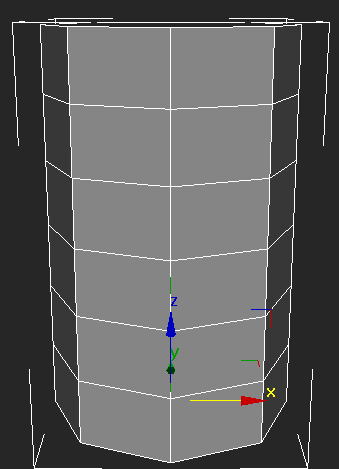 By the way, to remove the grid press "G", and pres F4 to see the edges. Ok! we're about half-way done until we can actually start modeling something! Now, the computer will have to draw each triangle 60 times per second, plus texturing and everything.. so it is very important to see all of them while working, to be sure that none of them are wasted. To do so, click on the Display icon and uncheck "Edges Only" from the following menu:
 Now, since my character's torso will be mostly symmetrical, I want to be able to only model one half of it and mirror the other. First, we need to delete one half of the cylinder:
-Click on the "Modify" icon To leave sub-object vertex mode, right click on the object and click on subobject->top level. This is important because you cannot select a different object while in subobject mode.
Now here comes the last step!
 Then select "Instance" and OK.
 Hooray!! We can now start pulling, merging and adding vertices. |
